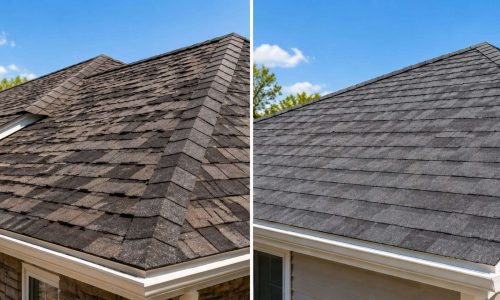

Your roof takes a beating. Between hail storms, heavy wind, and the kind of severe weather that rolls through Spokane, WA on a regular basis, it is not unusual for homeowners to find themselves staring at a damaged roof and wondering what comes next.
The good news is that your home insurance policy may cover the cost of a full roof replacement. The not-so-good news is that the process can feel overwhelming if you have never done it before. This guide walks you through everything you need to know, from understanding your policy to getting paid without the headaches.
Does Home Insurance Actually Cover Roof Replacement?
The short answer is: it depends. Most standard home insurance policies cover roof damage caused by sudden, unexpected events like hail, wind, or storm damage. What they typically do not cover is damage caused by neglect, age, or lack of maintenance.
Insurance companies want to know that you have been taking care of your home. If your roof was already failing before the storm hit, your claim could be denied or reduced significantly.
What Types of Damage Are Usually Covered?
Here is what most policies will consider a covered loss:
- Hail damage that cracks, dents, or bruises shingles
- Wind damage that lifts, curls, or removes shingles entirely
- Storm-related leaks that cause interior damage
- Damage from falling debris during a weather event
What is generally not covered includes gradual deterioration, moss buildup, or a leak that developed slowly over time because maintenance was deferred.
Understanding Your Insurance Policy Before You File
Before you pick up the phone to call your insurance company, spend some time reading your policy. Yes, it is dense. But a few key terms will make a big difference in how you approach your claim.
- Replacement value vs. actual cash value – These two terms could affect how much money you actually receive. Replacement value means your insurer pays what it costs to replace the roof at today’s prices. Actual cash value factors in depreciation, meaning they subtract the age and wear of your old roof before writing the check. If your policy uses actual cash value, your out-of-pocket expense could be significantly higher.
- Deductible – This is the amount you pay before your insurance kicks in. If your deductible is $2,500 and the roof replacement costs $12,000, your insurer covers the remaining $9,500. Knowing this number ahead of time helps you plan financially.
- Dwelling coverage – Your roof falls under the dwelling portion of your home insurance policy. Make sure your coverage limits are high enough to handle a full replacement at current market prices.
Step-by-Step: How to Get Insurance to Pay for Roof Replacement
Step 1 – Document the Damage Right Away
After a storm, take photos and video of everything you can safely access. Capture close-ups of damaged shingles, visible leaks, and any interior water damage. Time-stamp your documentation if possible. The sooner you do this after the weather event, the stronger your claim will be.
Do not make permanent repairs yet. Temporary fixes to prevent further damage are fine, but hold off on anything that would remove or conceal the original damage before an adjuster can inspect it.
Step 2 – Contact Your Insurance Company Promptly
Most insurance policies require you to report a claim within a reasonable window after the damage occurs. Call your insurer, explain what happened, and ask what documentation they need. Take notes during the call, including the name of the representative you spoke with and any claim numbers you receive.
Your insurance company may send an adjuster to evaluate the damage. This inspection is a critical moment in your claim.
Step 3 – Get an Independent Roof Inspection
Here is where many homeowners leave money on the table. Insurance adjusters work for the insurance company. That does not mean they are dishonest, but it does mean their assessment may not always capture the full picture.
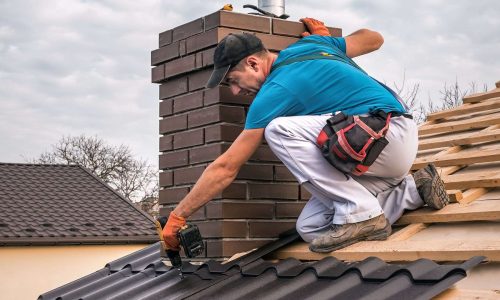
Having an independent inspection from a qualified roofing contractor gives you a professional second opinion. A reputable roofer can identify damage the adjuster might have missed and provide a written estimate that supports your claim. This documentation is valuable, especially if you need to negotiate.
Step 4 – Review the Adjuster’s Report Carefully
Once the adjuster submits their findings, you will receive a summary of what your insurer is willing to cover. Read it carefully. Compare their damage assessment against what your roofer found during the independent inspection.
If the numbers are far apart or the insurer is denying portions of the claim, do not just accept it and move on. You have options.
Step 5 – Negotiate or Appeal If Necessary
You have the right to dispute a claim decision. If your independent inspection supports a higher replacement value than what the insurer offered, present that documentation and ask for a re-evaluation. Many homeowners successfully increase their settlements simply by advocating clearly and providing solid evidence.
If the dispute is significant, you may consider hiring a licensed public adjuster or consulting with an attorney who handles insurance claims. This is especially worth exploring when the cost difference between the offer and the actual replacement price is substantial.
Red Flags to Avoid During the Claims Process
Unfortunately, the roofing industry is not without its bad actors. After major storms, storm-chasing contractors roll into neighborhoods making promises they cannot keep and sometimes encouraging homeowners to do things that cross into insurance fraud territory.
Insurance fraud is a serious issue. Offering to waive your deductible in exchange for signing a contract, for example, is not a deal – it is illegal. A contractor who encourages you to file a claim for pre-existing damage or who inflates their repair estimate is putting you at legal risk, not helping you.
Protect yourself by working only with established, reputable roofing contractors. The Roofing Contractors Association of Washington (RCAW) is a professional organization that supports quality and ethics in the industry. Choosing a contractor who values professionalism and clear communication is one of the best things you can do for yourself throughout this process.
How Spokane’s Weather Makes Roof Claims More Common
Spokane homeowners deal with a wide range of weather conditions throughout the year. Spring and summer bring hail and wind events that can cause sudden and significant damage. Winter adds its own stress to roofing systems through freeze-thaw cycles and heavy snow loads.
Because severe weather is a regular part of life here, it is worth reviewing your home insurance policy annually to make sure your coverage keeps pace with current replacement costs. What seemed like enough coverage five years ago may leave you short today given how much material and labor prices have changed.
What to Expect After Approval
Once your claim is approved, your insurer will issue a payment. Depending on your policy, this might come in two stages. The first payment covers the actual cash value, and after the work is completed, a second payment – called the recoverable depreciation – is released. Make sure you understand this process so you are not caught off guard waiting for funds.
Keep all receipts, contracts, and communication related to the replacement. Your insurer may request proof that the work was completed before releasing the final payment.
How to Move Forward With Your Roof Replacement Claim
Getting insurance to pay for roof replacement takes preparation, documentation, and the right professional on your side. If your Spokane home has been affected by hail, wind, or storm damage, do not go through the process alone. The team at Balsamroot Exteriors brings over a decade of local experience and a commitment to honest, straightforward guidance. Whether you need a professional inspection to support your claim or a full roofing replacement, we are here to help.