
If you’ve been putting off a roof replacement because you’re not sure what you’re actually paying for, you’re not alone. Most homeowners have no idea what goes into the process beyond “take off the old shingles and put on new ones.” But there’s a lot more happening up there, and understanding what is included in a roof replacement helps you make a smarter decision when it’s time to invest.
This breakdown covers everything from materials and labor to the steps your roofer takes from start to finish.
How Do You Know You Need a Roof Replacement?
Before diving into what’s included, it helps to understand when a full replacement is actually necessary. A roof repair might be enough for isolated damage, but if your existing shingles are curling, cracking, or missing in multiple spots, it may be time for a new roof.
Other signs include persistent roof leaks, granules filling your gutters, or a roof that’s simply reached the end of its lifespan. Asphalt shingle roofs typically last 20 to 30 years, while a metal roof can last up to 50 years. If your old roof is pushing those limits, a complete roof replacement is likely the smarter investment.
A roof inspection by a qualified roofing contractor can confirm whether you need a partial roof fix or a full roof replacement.
What Is Included in a Roof Replacement? A Step-by-Step Breakdown
Understanding what is included in a roof replacement means following the process from the first shingle pulled to the final cleanup. Here’s how it works.
1. Tear-Off of Old Roofing Material
The replacement process starts with removing your old roof. This tear-off involves stripping away the existing shingles, old roofing material, and any deteriorated underlayment down to the roof deck. Skipping this step and adding a new layer of shingles on top of the old materials is sometimes done, but it’s generally not recommended because it traps moisture and hides potential damage underneath.
2. Roof Deck Inspection and Repair
Once the old roofing material is stripped, your roofer will inspect the roof deck, which is the layer of oriented strand board or plywood that forms the structural base of your roof. If sections of the sheathing are soft, rotted, or damaged, those areas need to be repaired or replaced before anything else goes on top.
Skipping deck repairs is a shortcut that leads to bigger problems. A solid deck is the foundation of every durable roof.
3. Ice and Water Shield and Underlayment
After the deck is prepped, the crew installs an ice and water barrier along the eave and other vulnerable areas of the roof. This layer of protection guards against water infiltration from ice dams and wind-driven rain, which matters a great deal given how harsh winters can get in Spokane.
Next comes the underlayment, a water-resistant or waterproof membrane that goes beneath the shingles and above the roof deck. This adds another barrier between your shingles and the roof deck, reducing the chance of a leak reaching your attic or living space.
4. Metal Drip Edge Installation
A drip edge is a metal flashing that runs along the edges of the roof, including the eaves and rakes. The drip helps direct water away from the fascia and into the gutter rather than letting it seep behind the trim or siding. Proper drip edge installation is required under most local building codes, and it’s something quality roofers don’t skip.
5. Flashing Around Vulnerable Areas
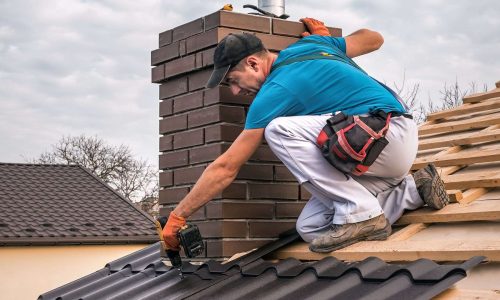
Flashing is typically made from metal – often aluminum, steel, or copper – and is installed at the vulnerable areas of the roof where water is most likely to sneak in. This includes around the chimney, skylights, roof vents, and anywhere two roof planes meet. Properly installed and sealed metal flashing keeps those intersections watertight for years.
If flashing is corroded or improperly installed on your old roof, replacing it during a full replacement is standard practice.
6. Installation of Your New Roof Shingles
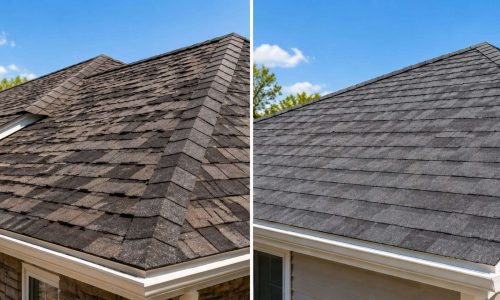
This is the part most people picture when they think about getting a new roof. The installation of your new roof shingles is done in overlapping rows starting at the eave and working up toward the ridge. New shingles are nailed down according to manufacturer specs and local building codes to ensure proper wind resistance.
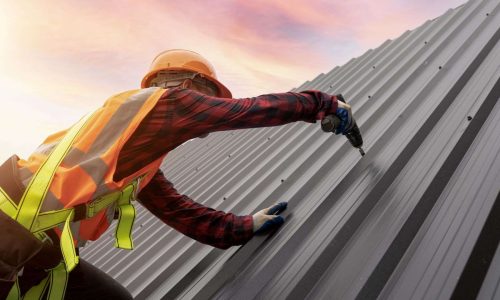
The choice of roofing materials affects both performance and price. Types of roofing materials commonly used include asphalt shingle, wood shingle, metal, slate, and flat roof membranes made from bitumen or natural rubber. Asphalt shingle roof options remain the most popular due to their balance of cost, lifespan, and availability.
7. Roof Vents and Ventilation
A complete roof replacement always includes attention to ventilation. Ridge vents, soffit intake vents, and other roof vents allow air to circulate through the attic, preventing heat and moisture buildup that can damage shingles and sheathing from the inside out. Poor ventilation is one of the most common causes of premature roof failure, so this is not an area to cut corners.
8. Final Inspection and Cleanup
Once the new roofing material is in place, a thorough final inspection is done to check for any missed nails, gaps in flashing, or areas that need additional sealant. Cleanup is also included in a roof replacement – crews remove all debris, old materials, and nails from your property and landscaping.
Things to Consider When Getting a New Roof
When you get a roof replacement, ask your roofing company about warranty coverage on both materials used and labor. Confirm they carry liability insurance and workers’ compensation.
Make sure you receive a written contract that outlines the scope of work, and request a lien waiver at the end of the project.
Installing a new roof is a significant investment, and working with a licensed, experienced roofing contractor protects your budget and your property.
Conclusion
Understanding what goes into a roof replacement helps you ask better questions and avoid unpleasant surprises. From tear-off and deck repair to shingles and ventilation, every step serves a purpose. If you think it might be time for a new roof or want an honest assessment of your replacement needs, Balsamroot Exteriors is here to help. Call us at 509-295-2326 to schedule a roof inspection with a team that Spokane homeowners trust.